Learn How to Draw a Beautiful Bee in 14 Simplified Steps
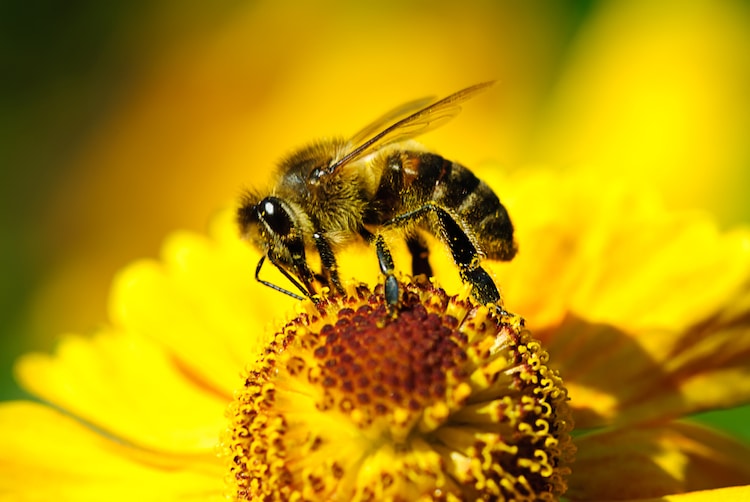
Photo: pervach/DepositPhotos
Bees are the tiny superheroes of our environment. They play a vital role in pollinating plants, including 70 of the top 100 human food crops. That is why they're the perfect partner to a flower drawing. If you've never drawn a bee, however, they can seem like a difficult subject to tackle. Not to worry. By breaking down the anatomy into easy-to-follow steps, you'll quickly master this winged insect.
In this tutorial, we will learn how to draw a honeybee in 14 steps. We will begin by sketching the pollinator in pencil—taking time to capture its proportions as accurately as possible–before finally going over it in ink. Ready to begin? Then grab a pencil, pen, and some paper, and let's draw a bee!
Learn how to draw a realistic bee in 14 steps.
Step 1: Sketch the head
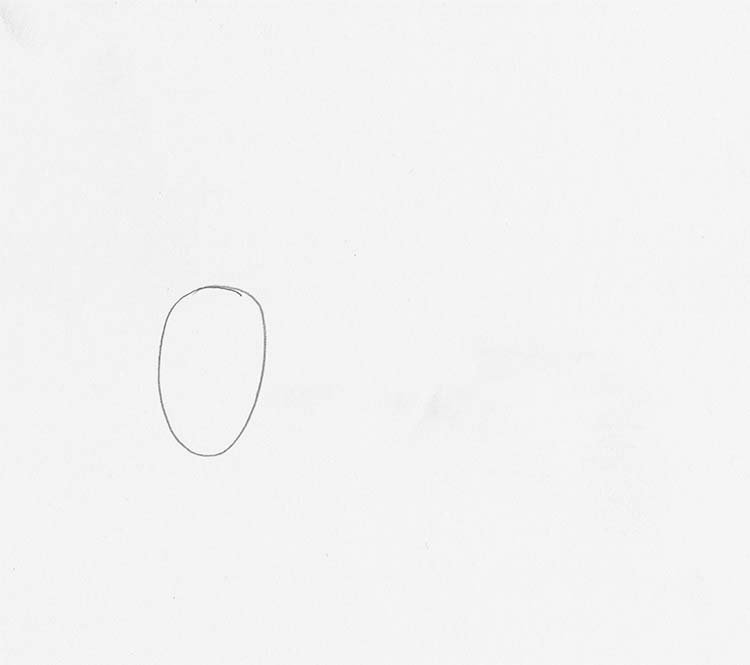
Photo & Art: Margherita Cole | My Modern Met
First, create the head by sketching an oval.
Step 2: Draw the thorax
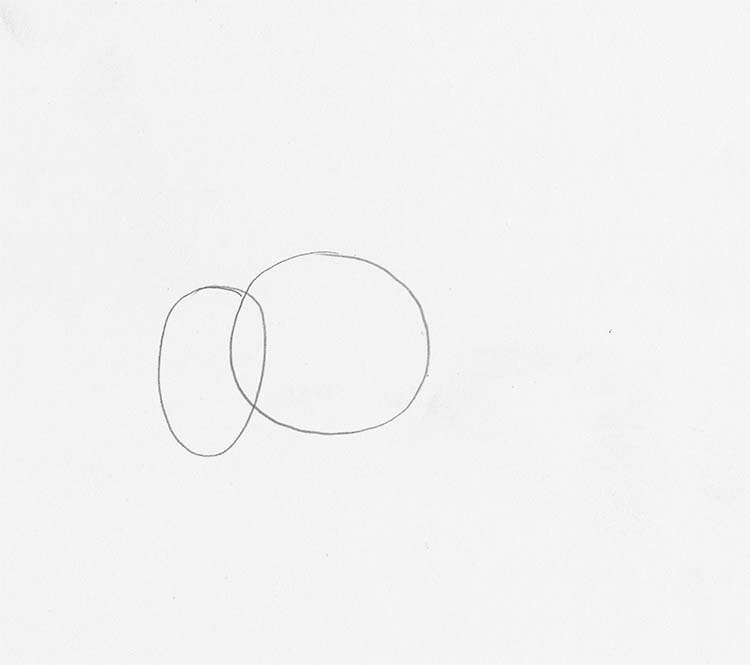
Photo & Art: Margherita Cole | My Modern Met
Next, add the thorax by sketching a circle.
Step 3: Add the abdomen
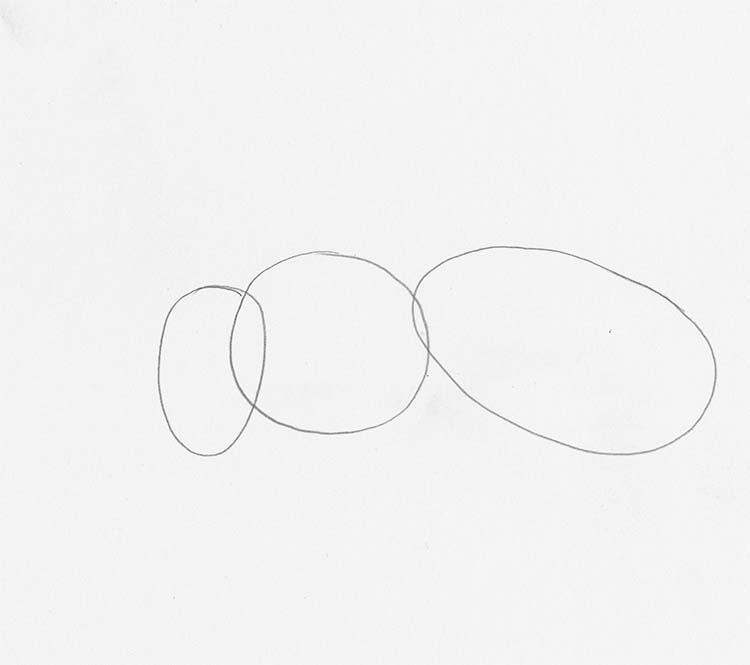
Photo & Art: Margherita Cole | My Modern Met
Then, finish the body by sketching the abdomen, which will be a long oval that connects to the thorax.
Step 4: Sketch the eye
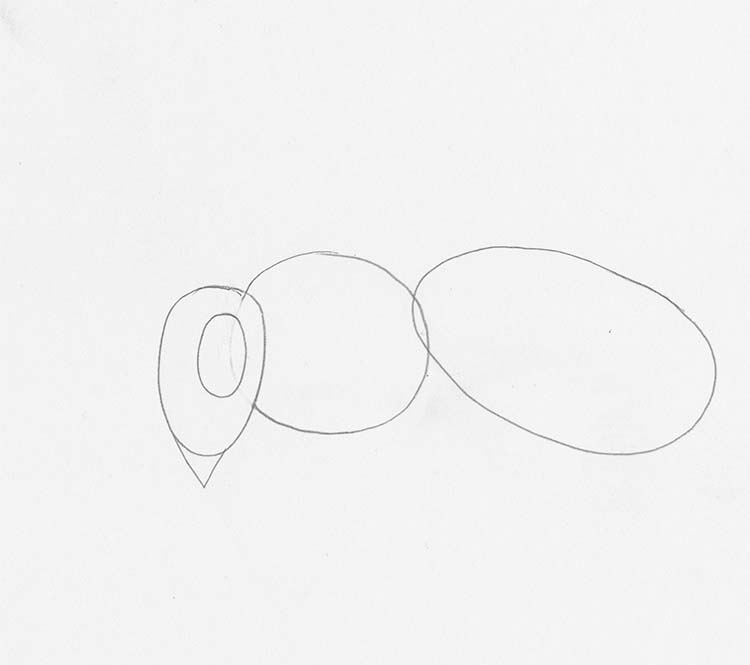
Photo & Art: Margherita Cole | My Modern Met
Now, return to the head of the bee and add a large oval-shaped eye and pointed mouth.
Step 5: Add the antennas
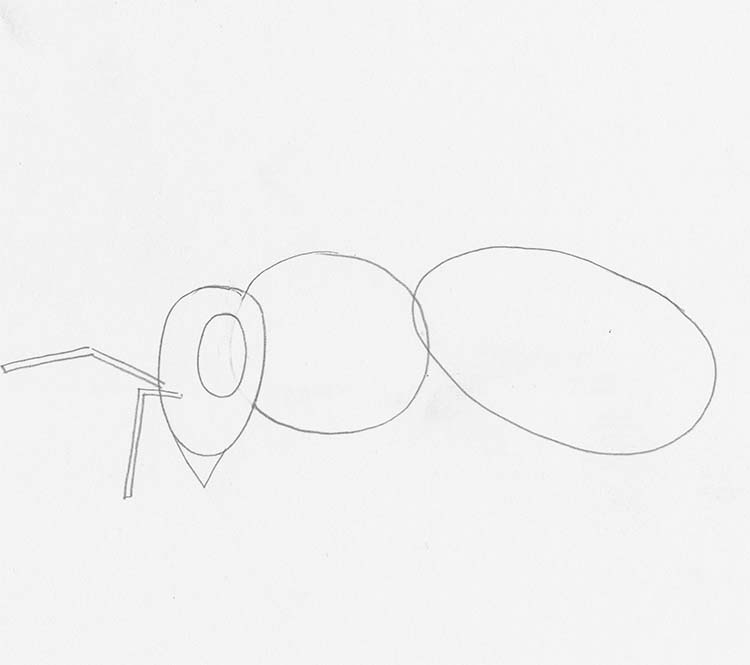
Photo & Art: Margherita Cole | My Modern Met
Afterward, add a pair of antennas to the head.
Step 6: Draw the wings
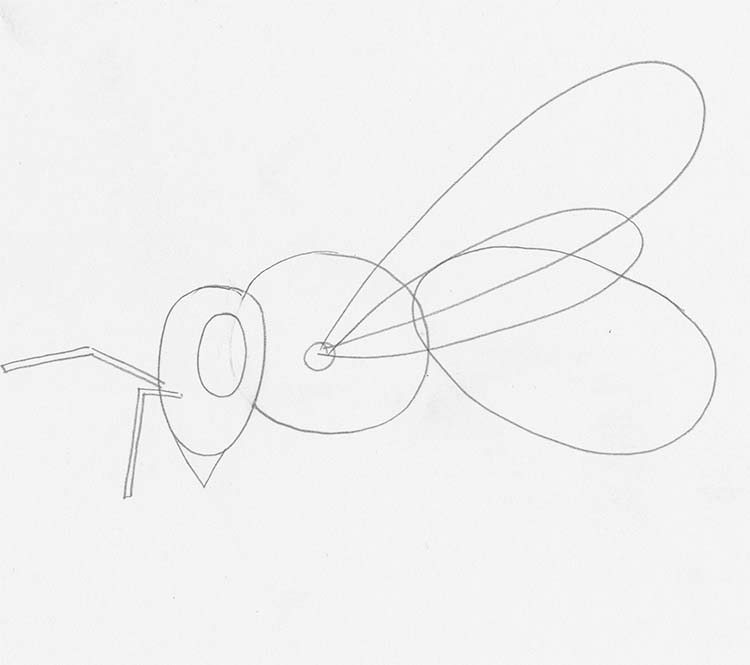
Photo & Art: Margherita Cole | My Modern Met
Next, move to the thorax and add the wings. You will want to start with a small circle at the center of the thorax, and then attach two long petal shapes to it. Remember to add the other wing behind the ones in front.
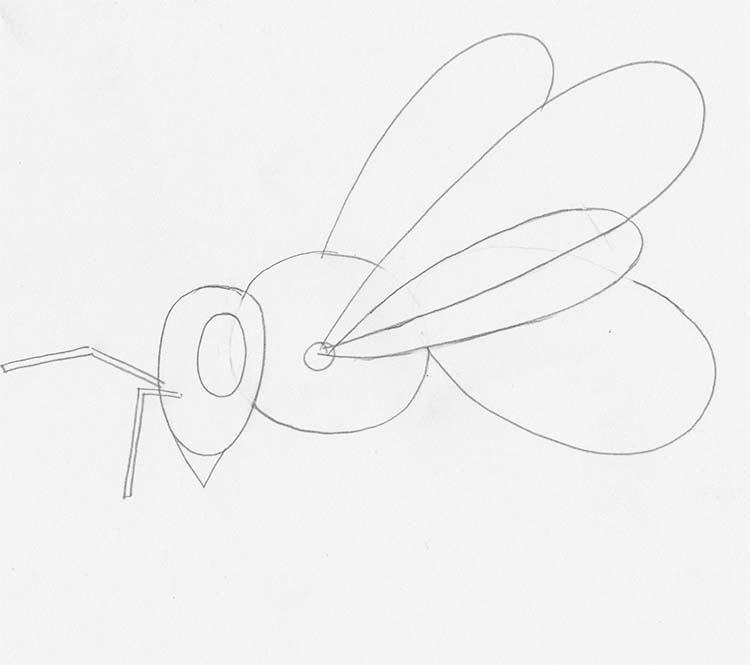
Photo & Art: Margherita Cole | My Modern Met
Step 7: Add the stripes
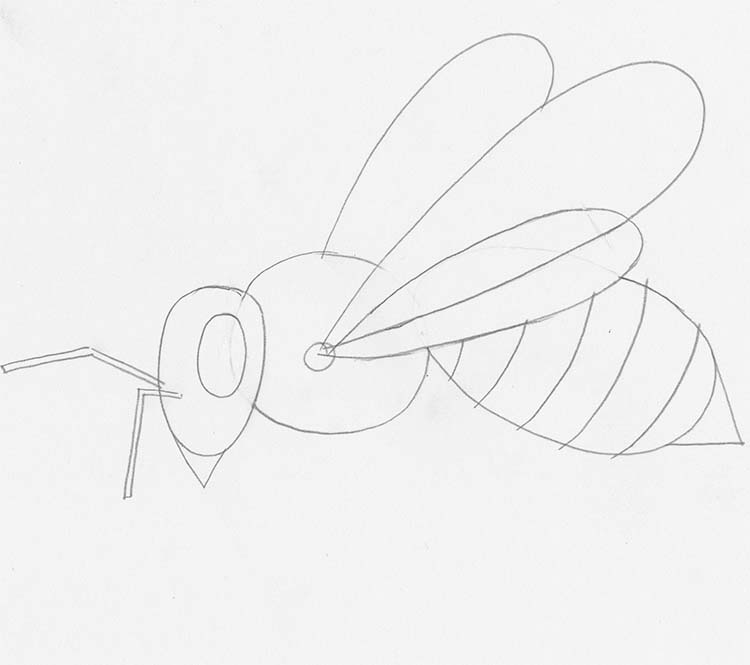
Photo & Art: Margherita Cole | My Modern Met
After, move to the abdomen and draw a couple of stripes and draw a point at the end.
Step 8: Sketch the foreleg
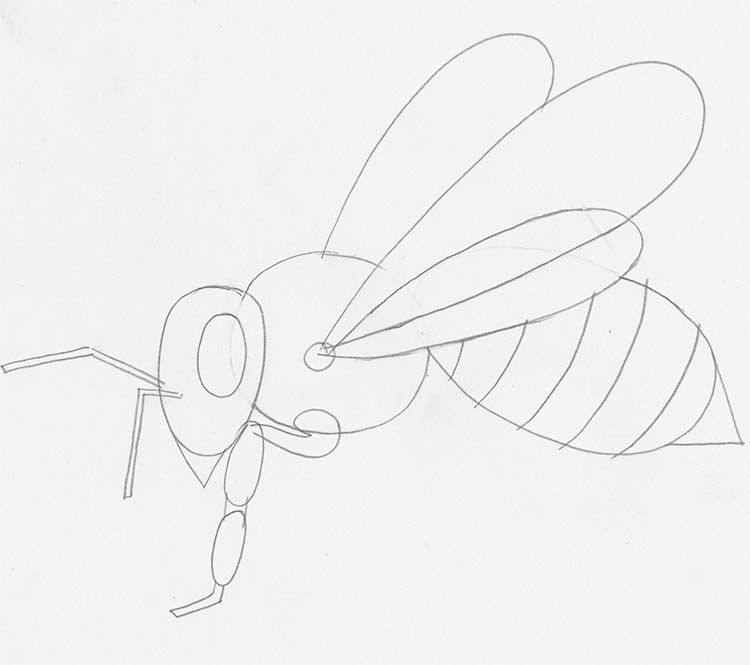
Photo & Art: Margherita Cole | My Modern Met
Now it is time to add the bee's legs. Since it is an insect, it has three pairs of legs (for a total of six). To make these, you will want to divide each one into different parts. Start by drawing the foreleg, which should be bent at a slight angle.
Step 9: Sketch the middle leg
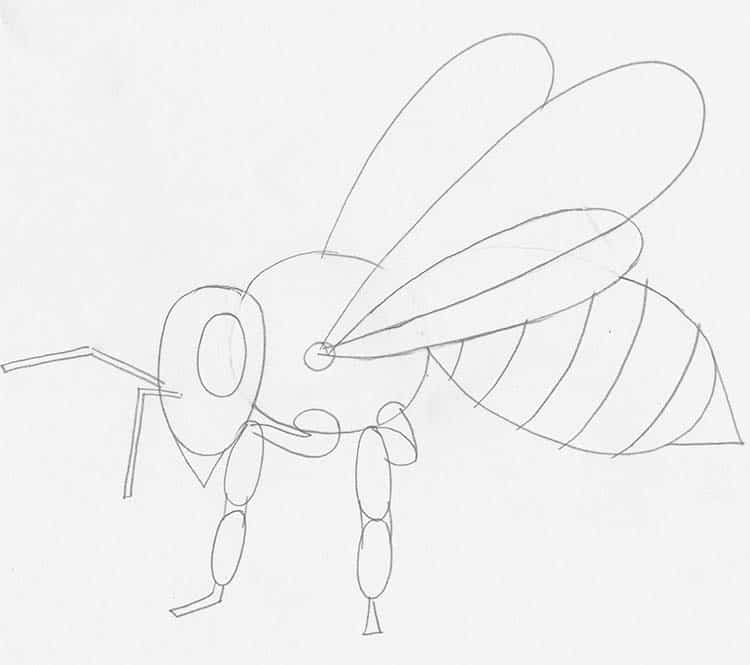
Photo & Art: Margherita Cole | My Modern Met
Use the same process from Step 8 to draw the middle leg—again, bent at a slight angle.
Step 10: Sketch the back leg
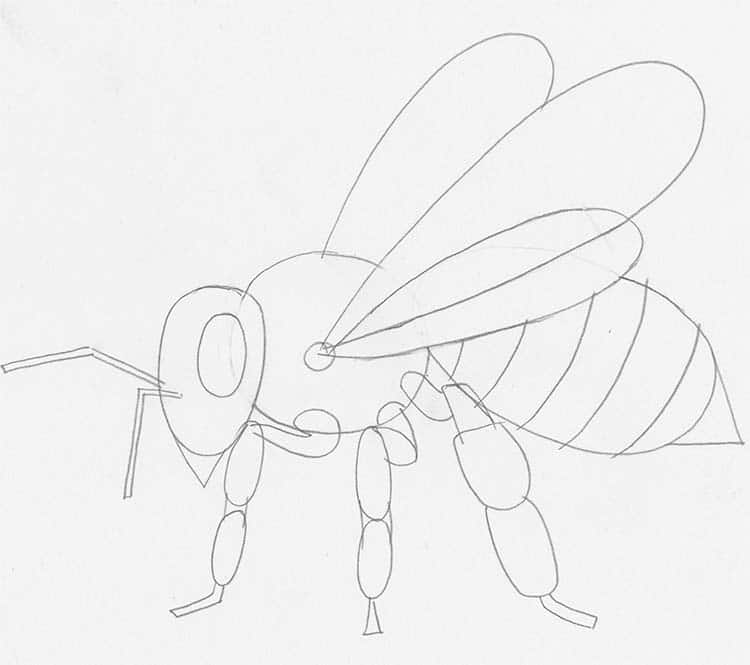
Photo & Art: Margherita Cole | My Modern Met
Finally, you can draw the back leg. This one will differ from the others in that this leg will feature a bulbous middle segment called a pollen sack.
Step 11: Add the other legs
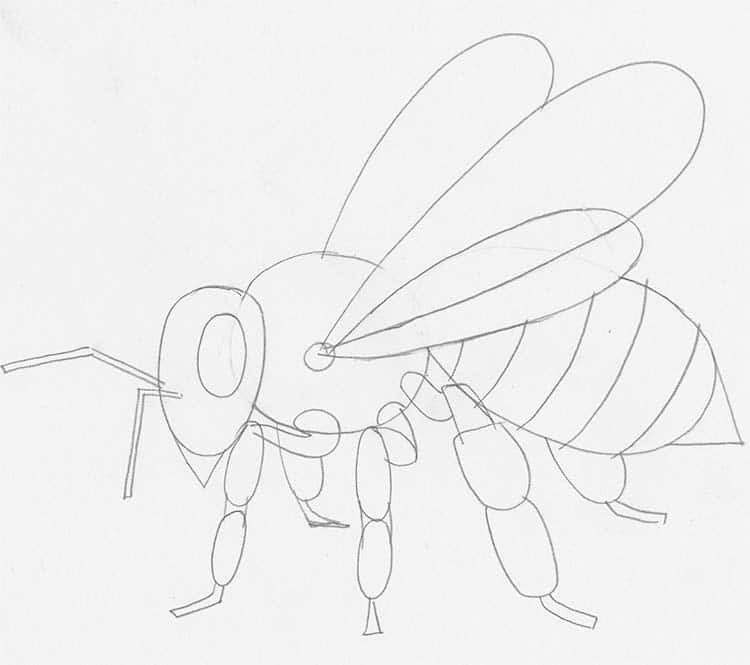
Photo & Art: Margherita Cole | My Modern Met
Afterward, quickly draw the silhouette of the legs on the other side of the bee.
Step 12: Draw a pattern on the wings
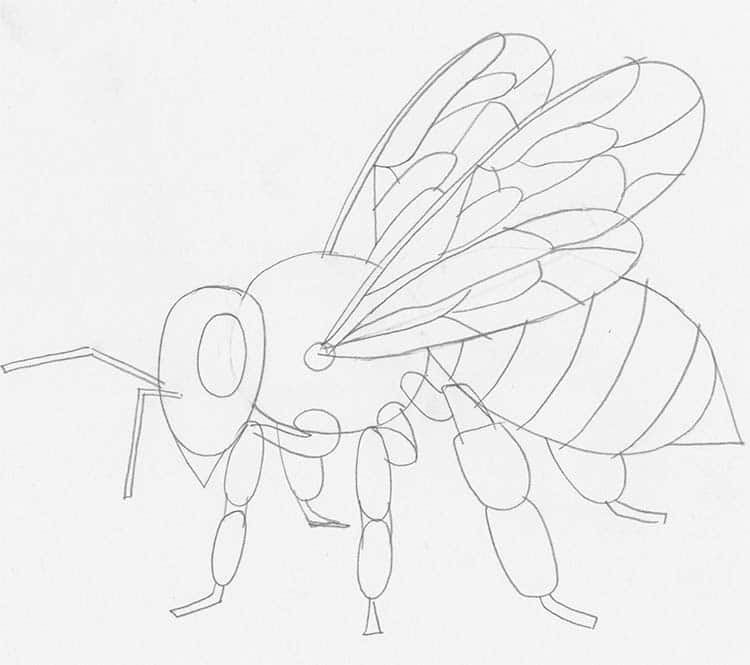
Photo & Art: Margherita Cole | My Modern Met
Next, you will want to move to the wings of the bee and draw an abstract pattern made up of long geometric shapes.
Step 13: Add shading and texture
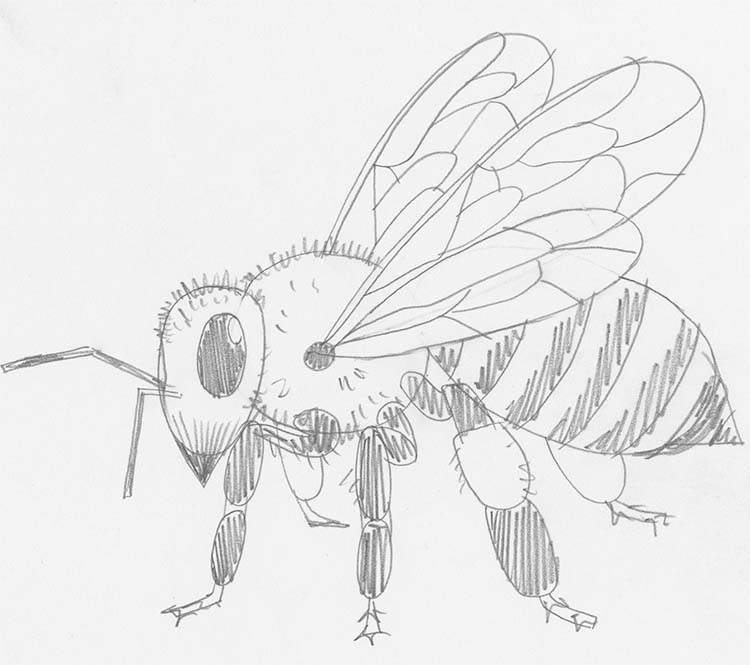
Photo & Art: Margherita Cole | My Modern Met
Now that we've drawn the bee, you can give it some more dimension by adding fuzzy texture to the head and thorax, and the black stripes to the abdomen. This will also help you remember where you are going to ink in Step 14.
Step 14: Go over the drawing in ink
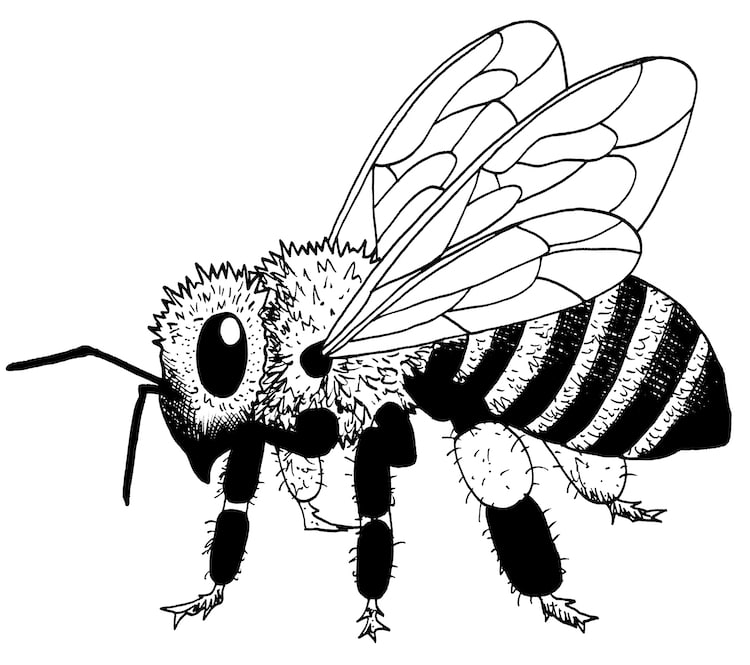
Photo & Art: Margherita Cole | My Modern Met
Finally it is time to go over the drawing in ink. Take your favorite pen and slowly trace over all of the pencil marks. If you're afraid of smearing ink, then place a piece of scrap paper underneath your drawing hand. Save any large areas of black—like the eye, legs, and stripes—for last.
You can either leave your illustration in black and white or fill it in with color. Congrats! You've learned how to draw a bee.
Looking for others who love drawing? Join our Art, Design, Photography, and Drawing Club on Facebook!
Related Articles:
How to Draw a Spider on a Spiderweb in 13 Steps
Learn How to Draw a Frog Step by Step
Learn How to Draw a Ladybug Step by Step
Learn How to Draw a Sunflower in 9 Simple Steps
READ: Learn How to Draw a Beautiful Bee in 14 Simplified Steps
0 Commentaires