Learn How to Draw an Enchanting Snowy Owl With This Step-by-Step Guide
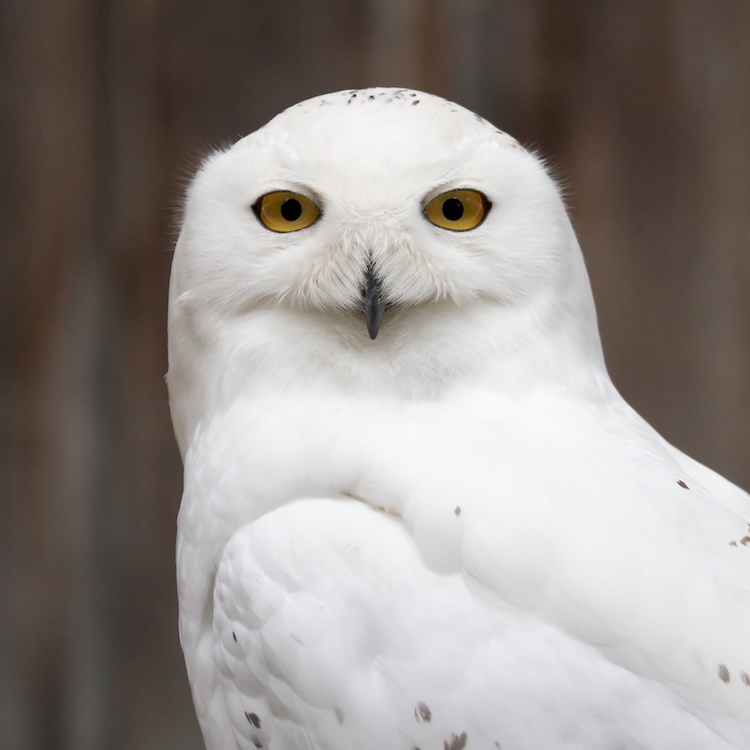
Photo: chbaum/DepositPhotos
The mysterious and enigmatic owl has been associated with wisdom for centuries. Its large, penetrating eyes and beautiful plumage make it one of the most distinct birds. In particular, the white-feathered snowy owl—made famous by Hedwig from the Harry Potter franchise—has become emblematic of an ethereal winter landscape.
Want to learn how to capture this enchanting creature for yourself? Learning how to draw an owl is easier than you think. We've put together an illustrated guide that will walk you through the steps to rendering a snowy owl perched on a piece of wood in pencil, before going over the drawing in ink. All you'll need is some basic drawing supplies and paper. Ready to get started? Then, let's draw an owl!
Learn How to Draw a Beautiful Snowy Owl
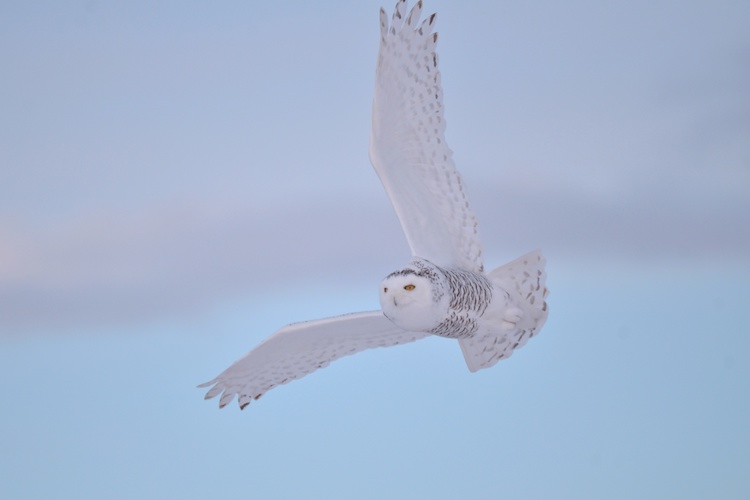
Photo: Panadian/DepositPhotos
Step 1: Sketch a circle
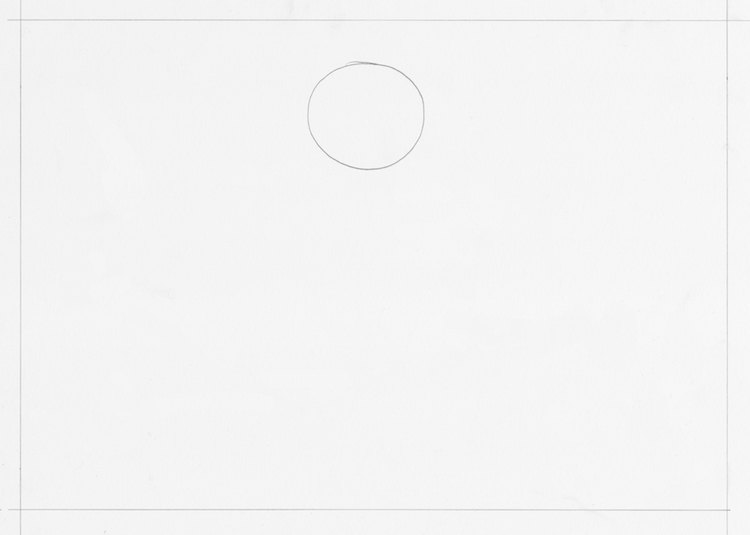
Photo & Art: Margherita Cole | My Modern Met
Create the head of the owl by drawing a circle.
Step 2: Draw a cross
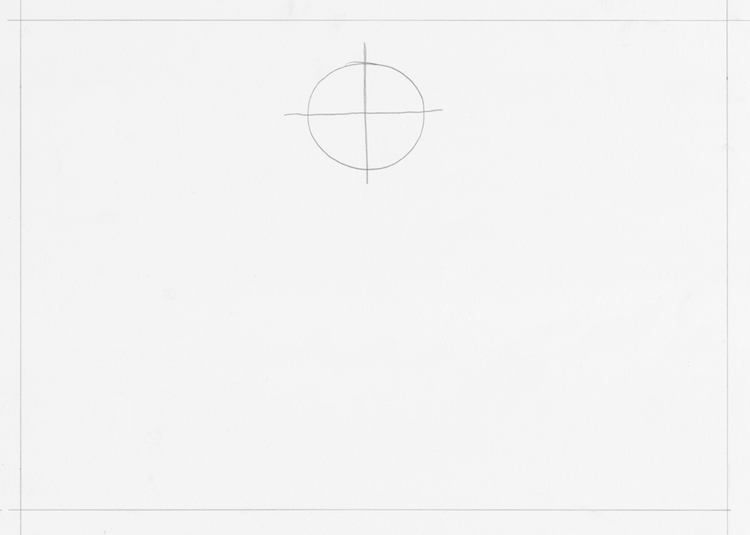
Photo & Art: Margherita Cole | My Modern Met
Divide the circle into four sections by adding a verticle and horizontal line.
Step 3: Add the face
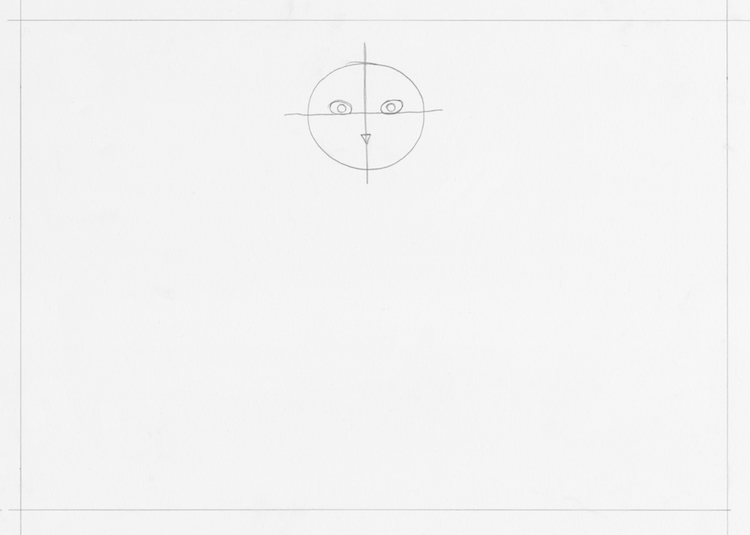
Photo & Art: Margherita Cole | My Modern Met
Then, use the guidelines from Step 3 to place a pair of large oval eyes, and a small triangular beak.
Step 4: Start the body
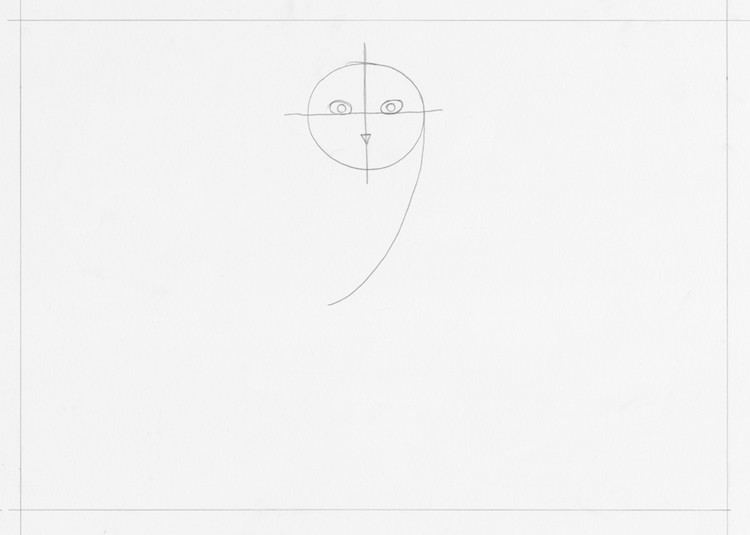
Photo & Art: Margherita Cole | My Modern Met
Next, add a curved line to the head to transform the circle into a number 9 shape.
Step 5: Finish the body
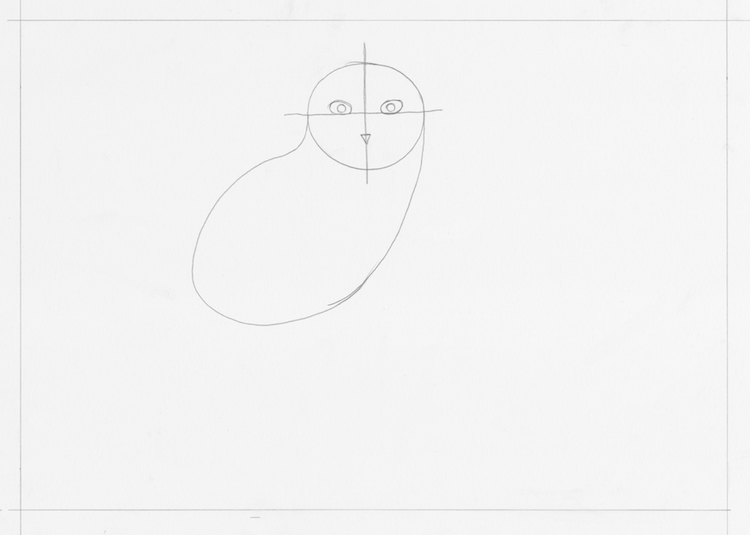
Photo & Art: Margherita Cole | My Modern Met
Round out the body of the owl to create a bean-like shape. The head should blend into the body without much indentation.
Step 6: Add the wings
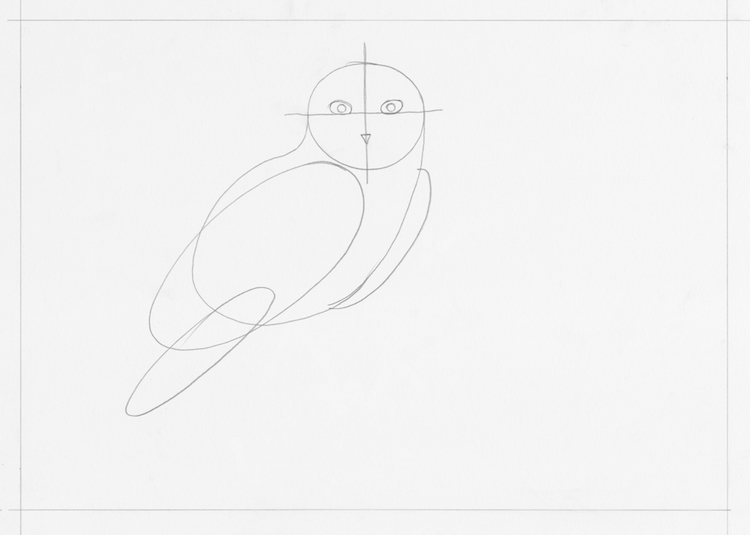
Photo & Art: Margherita Cole | My Modern Met
Afterward, use a couple of ovals to add wings and a tail to the owl. The wing in the forefront should extend well past the body, as well as the tail.
Step 7: Sketch the feet
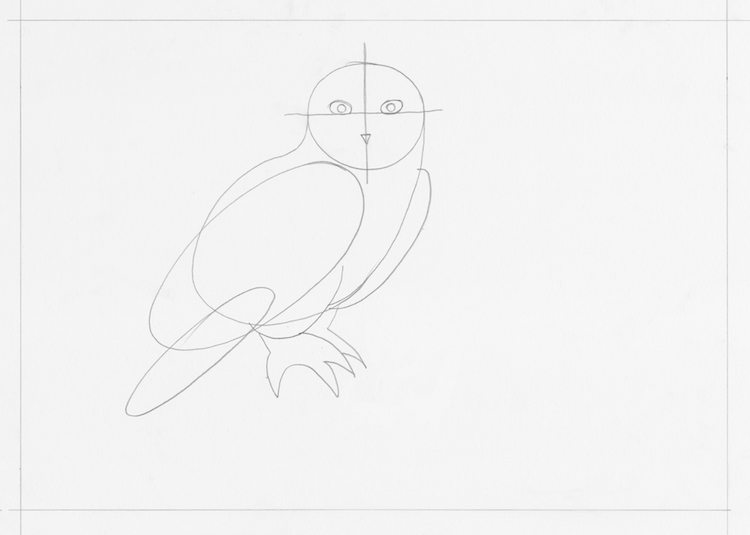
Photo & Art: Margherita Cole | My Modern Met
Then, add a pair of large feet. We will add a fluffy texture to these later.
Step 8: Refine the sketch
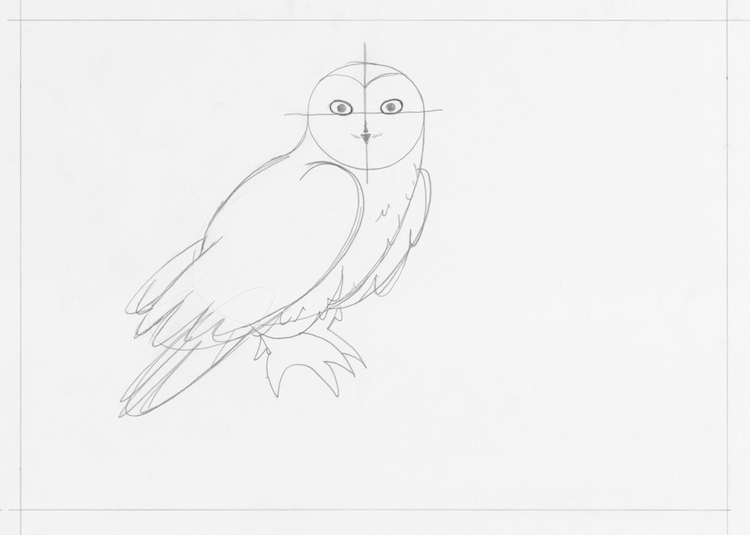
Photo & Art: Margherita Cole | My Modern Met
Now that we've drawn all of the basic body parts of the owl, it is time to refine the sketch. Using a reference photograph, go over the wings and head and add detail where you can.
Step 9: Add the pattern
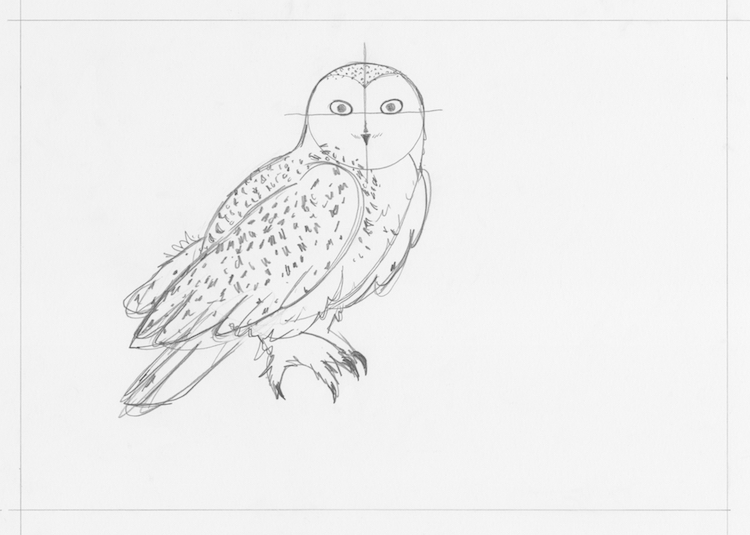
Photo & Art: Margherita Cole | My Modern Met
Next, fill in the owl with its spotted pattern. This will be most prominent on the wings and top of the head, but make sure to compare with a photo until you're satisfied with the result.
Step 10: Draw a background
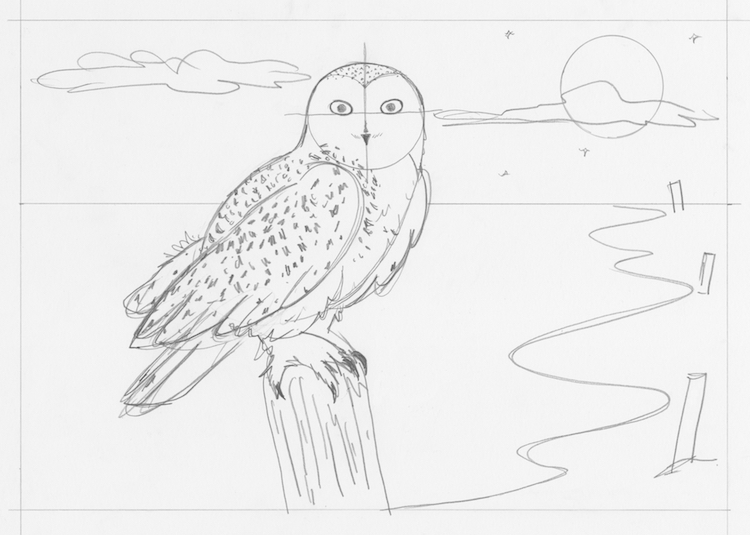
Photo & Art: Margherita Cole | My Modern Met
With the drawing of the snowy owl nearly done, you can enhance the illustration by adding a fitting background, such as a lake at night.
Step 11: Go over the drawing in ink
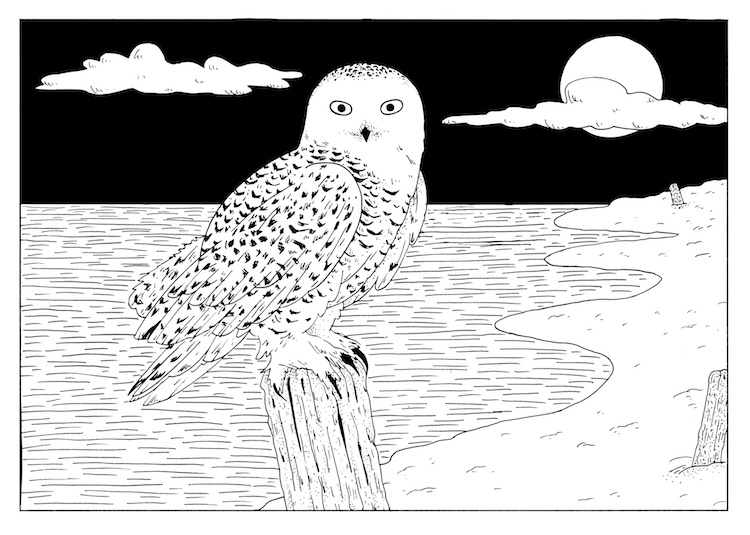
Photo & Art: Margherita Cole | My Modern Met
Finally, it's time to go over our drawing in ink. Place a scrap of paper under your drawing hand and slowly go over the sketch with a pen. Once you've gone over all of the marks, including the border, you can begin filling in the large areas of black. It's important to leave this step until last, otherwise, you risk smearing the ink.
Congratulations! You've finished a drawing of an enchanting snowy owl.
Looking for others who love drawing? Join our Art, Design, Photography, and Drawing Club on Facebook!
Related Articles:
Learn How to Draw a Polar Bear Step by Step
Learn How to Draw a Sleeping Arctic Fox in 9 Steps
Learn How to Draw a Wolf Howling at the Moon Step by Step
Learn How to Draw a Pumpkin in a Few Easy Steps
READ: Learn How to Draw an Enchanting Snowy Owl With This Step-by-Step Guide
0 Commentaires